

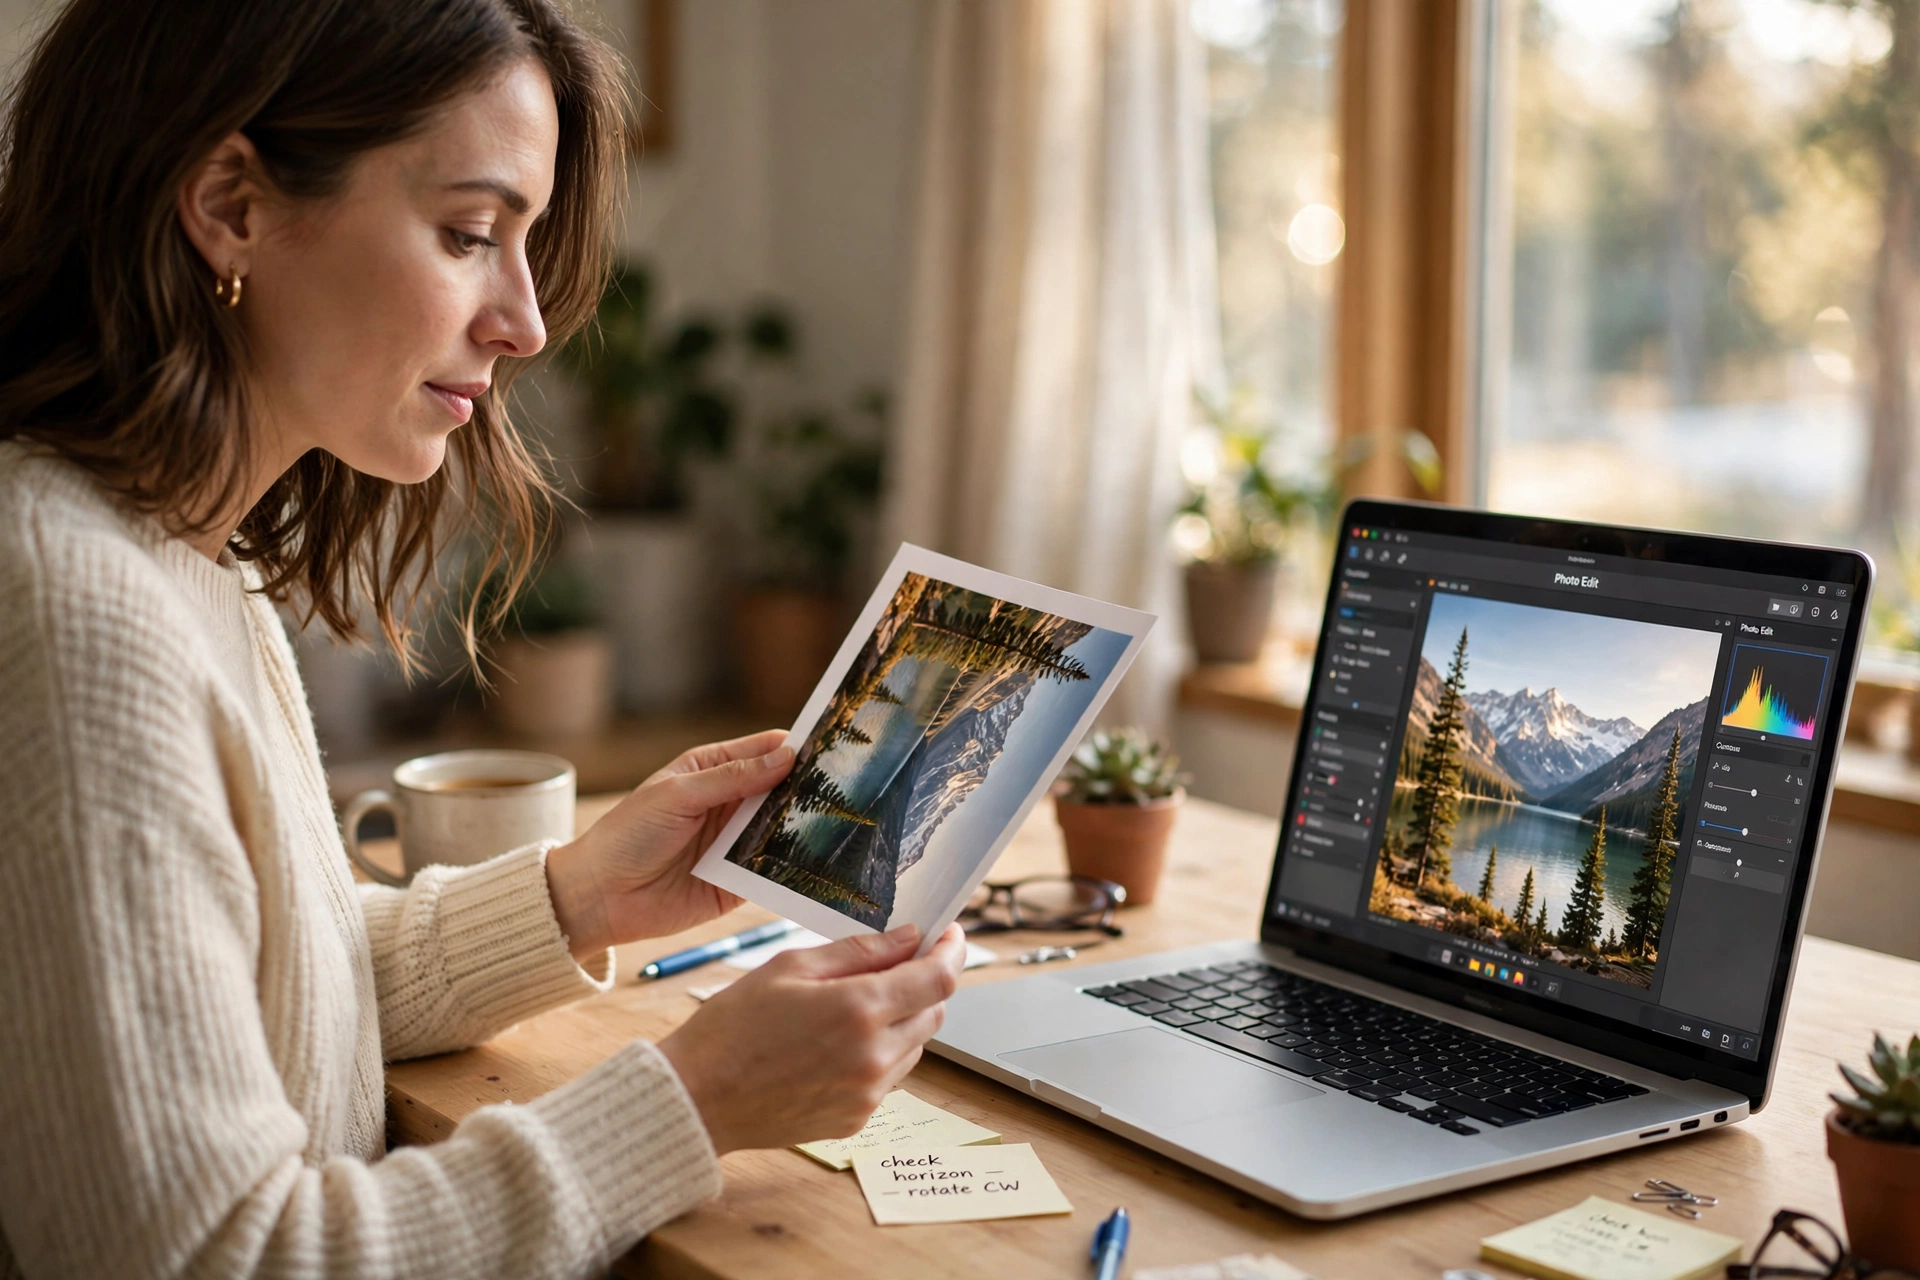
Rotate a photo whenever it comes out sideways, upside down, or just a little bit tilted, and you can fix it in seconds. It happens when you hold your phone the wrong way or the camera guesses the orientation wrong. You never need to retake the shot: rotating turns the whole picture until it sits the right way up. Below are five free ways to rotate a photo, plus how to pick the direction and fix a batch at once.
What Does Rotating a Photo Mean?
To rotate a photo is to turn the whole image around its centre point, like turning a printed photograph in your hands. Nothing inside changes — only the frame turns. A 90-degree turn swaps portrait to landscape, a 180-degree turn flips it upside down, and a small turn straightens a crooked horizon. It differs from cropping, which cuts part away, and from flipping, which mirrors it. For a deeper walk-through of the same idea, see our guide on how to rotate a picture.
Which Way Should You Rotate It?
Look at which way the top of your subject points — that tells you the direction at a glance.
- Top points right: rotate 90 degrees counter-clockwise.
- Top points left: rotate 90 degrees clockwise.
- Completely upside down: rotate 180 degrees, or tap the 90-degree button twice.
- Only slightly tilted: skip the 90-degree button and use the straighten slider until the horizon looks level.
Tap the wrong way and just tap again — three taps one way equal one tap the other way. Check any text too: when the words read normally, the rotation is right. For the full steps on any device, see our guide on how to rotate an image.
How to Rotate a Photo: 5 Free Ways
Method 1: Rotate a Photo Online Free (Fastest Way)
The fastest way to rotate a photo is with the free Flip Image tool — no download, no sign-up, and it works on any device with a browser. Open the tool, upload your photo, tap rotate until it sits upright, then download the fixed photo. The whole job takes under a minute, on any device — even a borrowed computer or a phone with no storage left. Our guide to rotate image online covers the browser approach in more detail.
Method 2: Rotate a Photo on iPhone
The iPhone Photos app can rotate a photo in a few taps, and you can always revert. Open the photo, tap Edit, then the Crop icon. Tap the Rotate button (the square with a curved arrow) at the top left: each tap turns the photo 90 degrees counter-clockwise. If the horizon is only slightly off, drag the Straighten slider instead. Tap Done to save. Apple explains the same controls in its official iPhone guide to cropping, rotating, and straightening photos.
Method 3: Rotate a Photo in Google Photos
Google Photos is the easiest way to rotate a photo on Android, and it works on iPhone too if you have the app installed. Open the photo, tap Edit, then Crop. The rotate button sits at the top of the crop screen: each tap turns the photo 90 degrees. When it looks right, tap Save copy or Done. The fix syncs too, so a photo rotated on your phone shows up the right way on your computer. On some versions, saving creates a copy, so delete the sideways original if you do not want two versions.
Method 4: Rotate a Photo on Windows
Windows has two free ways to rotate a photo, and the quicker one is not even inside an app. In File Explorer, right-click the photo and choose Rotate right or Rotate left — the file turns instantly, no editor needed. It also works on several selected photos at once, the fastest batch fix on Windows. For more control, open the photo in the Photos app and use the rotate icon, or press Ctrl+R for a 90-degree clockwise turn.
Method 5: Rotate a Photo at a Custom Angle
Sometimes 90 degrees is too much: a beach shot with a sloping horizon or a slightly crooked scan needs a turn of two or three degrees, not ninety. That is a custom-angle rotation, called straightening. In Photoshop, open Image, then Image Rotation, then Arbitrary, type the degrees, and choose clockwise or counter-clockwise; Adobe documents every rotation option in its Photoshop rotate guide. In Canva, drag the straighten slider under the crop tool. Straightening crops the edges slightly to keep the frame rectangular, so zoom out first if the edges matter.
How to Rotate Photos Without Losing Quality
Rotation is gentle on quality, but a few habits keep it perfect. First, work on a copy if the photo matters, so the original stays safe. Second, rotate in 90-degree steps: most editors handle quarter-turns cleanly, while many small turns force repeated re-saves. Third, save at the highest quality setting, and prefer PNG over JPEG if you will edit the file again.
How to Rotate Several Photos at Once
Fixing one sideways photo is quick, but a whole holiday album needs batch rotation. On Windows, select all the sideways photos in File Explorer, right-click one, and choose Rotate right or Rotate left — every selected photo turns together. On a Mac, open the photos in Preview, select all the thumbnails, then use Tools, then Rotate Left or Rotate Right, and save. Phone galleries rarely offer batch rotation, so move big sets to a computer first. Batch rotation turns every selected photo the same way, so group only photos that are wrong in the same direction.
Rotate a Photo for Instagram and Social Media
Rotation matters more on social media than anywhere else, because you cannot fix a photo after it is posted. Before you upload, rotate a photo so it is upright — Instagram, Facebook, and TikTok display the file exactly as it is, and a sideways post looks broken. For the feed, a portrait photo at 4:5 fills the screen best; for Stories and Reels, use 9:16. Rotate first, then crop — rotating after cropping can cut off heads or horizons. Check the in-app preview before posting: some apps show a rotated thumbnail while the upload still uses the old orientation.
Rotate a Photo vs Flip a Photo: What’s the Difference?
People mix these two up, but they do opposite things. Rotating turns the picture, like turning a page. To flip a photo is to mirror it: left and right swap places. After a rotation, text still reads normally. After a flip, it reads backwards. So rotate when the photo is sideways or upside down, and flip only when the image is mirrored, like a selfie that came out reversed. For a mirrored selfie, our guide on how to flip a picture shows the mirror fix.
FAQ
Can I rotate a photo without losing quality?
Yes. One rotation shows no visible quality loss. Work on a copy, rotate in 90-degree steps, and save at the highest quality setting. Avoid rotating and re-saving the same JPEG many times — each save loses a little detail.
How do I rotate a photo 90 degrees?
Open the photo in any editor — your phone’s Photos app, Google Photos, Windows Photos, or a free online tool — and tap the rotate button once. Each tap turns it 90 degrees: twice for 180, three times to go 90 the other way.
How do I rotate a photo on my phone?
On iPhone, open Photos, tap Edit, then Crop, then the rotate button. On Android, open Google Photos, tap Edit, then Crop, then rotate. Both are free and built in, and you can undo the change later.
Can I rotate a photo without downloading an app?
Yes. A free online tool can rotate a photo in seconds — upload it, tap rotate, and download the fixed version. No app, no sign-up, nothing to install.
Try It Free
A sideways photo takes seconds to fix and costs nothing. Try the free Flip Image tool now: upload your photo, rotate it the right way up, and download it — no software, no sign-up.

1 Comment
Pingback: How to Rotate an Image in Word Free: 5 Easy Ways