

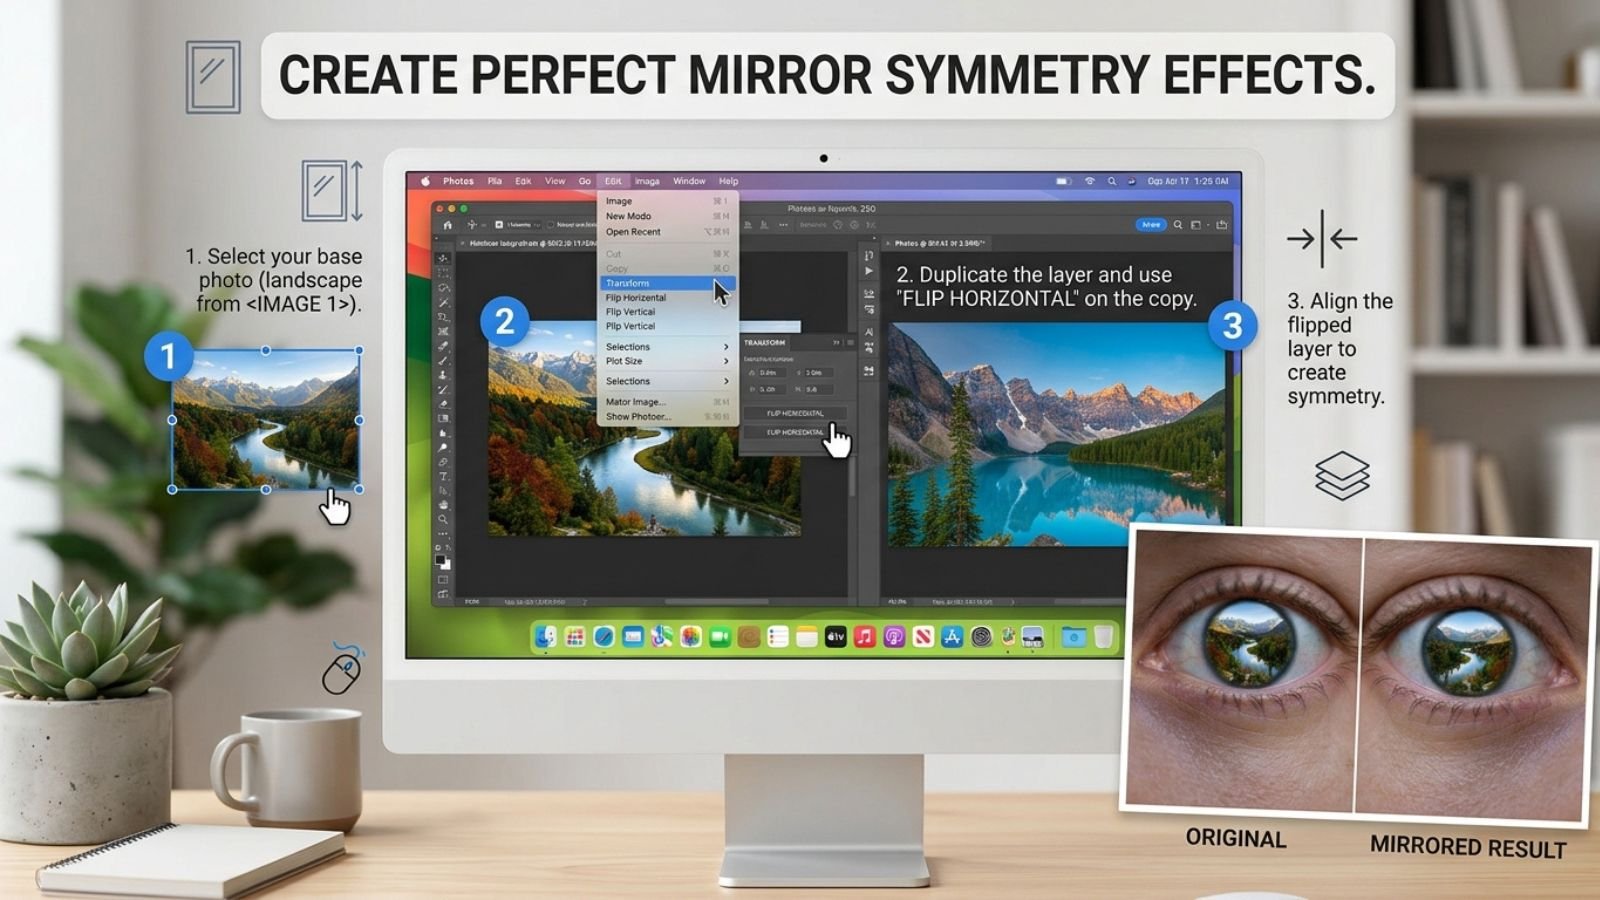
Mirror symmetry is one of the easiest ways to turn an ordinary photograph into a visually striking image. By duplicating part of a photo, flipping it, and joining the two sides, you can create a perfectly balanced composition that looks surreal, geometric, or artistic.
A mirror symmetry effect can work with portraits, architecture, landscapes, product photos, and even simple everyday pictures.
The technique is based on a straightforward idea: take one side of an image, reflect it, and place the reflection next to the original.
The result can range from a subtle symmetrical composition to a completely surreal image where the same object appears twice.
What Is a Mirror Symmetry Photo Effect?
A mirror symmetry effect creates a visual reflection by duplicating an image or part of an image and flipping the duplicate along an axis.
For example, imagine a portrait divided down the center.
The left half can be copied and flipped horizontally. When that mirrored half is placed beside the original, both sides become symmetrical.
The same idea can be applied vertically.
Horizontal mirror symmetry
The left and right sides become reflections of one another.
This is useful for:
- Faces
- Buildings
- Roads
- Landscapes
- Abstract photography
Vertical mirror symmetry
The top and bottom portions are reflected.
This can create effects that resemble:
- Water reflections
- Rorschach-style compositions
- Abstract patterns
- Surreal landscapes
The Basic Formula Behind the Effect
Creating mirror symmetry usually involves four steps:
Select → Duplicate → Flip → Align
Suppose you have a photograph of a person standing slightly to one side.
You can:
- Select the part of the image you want to mirror.
- Duplicate it.
- Flip the duplicate horizontally.
- Position it against the original.
- Align the edges carefully.
The most important step is alignment.
Even a small gap or overlap can make the effect look accidental instead of intentional.
Choose an Image With a Strong Center Point
Not every photograph works equally well for mirror symmetry.
Images with a clear central subject are often easier to transform.
Good candidates include:
- Faces looking toward the camera
- Symmetrical buildings
- Doorways
- Bridges
- Trees
- Mountains
- Roads
- Reflections
- Architectural details
A photograph with a strong vertical line through the middle gives you an obvious place to create the mirror.
For example, a person standing directly in the center can produce a dramatic symmetrical portrait when one side of the face is reflected.
Creating the Effect From the Left Half
One common technique is to use the left half of the photograph as the source.
Imagine an image that is 2000 pixels wide.
You can divide it around the center and use the left 1000 pixels as your source.
The process becomes:
Left half → Duplicate → Flip horizontally → Place on right
The resulting image contains two versions of the left side.
This is sometimes called a left-side symmetry effect.
It can reveal how a face, building, or landscape would look if both sides were based on the same original half.
Creating the Effect From the Right Half
You can do exactly the opposite.
Right half → Duplicate → Flip horizontally → Place on left
This produces a right-side symmetry effect.
For portraits, it can be interesting to compare both versions because the left and right sides of a real face are rarely identical.
The difference can produce two completely different-looking symmetrical portraits from the same photograph.
Full-Image Mirroring Creates a Different Effect
There is another technique that doesn’t involve cutting the image in half.
Instead, you can duplicate the entire image and place the flipped copy beside the original.
For example:
Original | Mirrored Original
This doubles the width of the composition and creates a repeating reflection.
This style works particularly well with:
- Landscapes
- Roads
- Buildings
- Product photography
- Abstract images
If you want to experiment with a quick full-image reflection, you can use FlipImage.co to create the mirrored version first, then combine it with the original in your preferred design or editing application.
Try a Vertical Mirror Effect
Mirror symmetry doesn’t have to run from left to right.
You can also reflect the image vertically.
For example:
Original
⬇
Flipped copy
This can create a visual similar to a reflection in water.
However, a literal vertical flip is not always enough to make a convincing water reflection. You may also need to adjust:
- Opacity
- Blur
- Distortion
- Color
- Contrast
For a more realistic reflection, the reflected portion can be softened slightly rather than remaining perfectly sharp.
Create a Symmetrical Portrait
Portraits are particularly interesting because human faces are not perfectly symmetrical.
Start with a front-facing photograph where the subject is relatively centered.
Then:
- Create a copy of the photograph.
- Choose either the left or right half.
- Remove the opposite half.
- Duplicate the selected side.
- Flip the duplicate horizontally.
- Align the center seam.
- Crop the finished composition.
You’ll now have a face constructed entirely from one side of the original.
Repeat the process using the opposite side and compare the two results.
The difference can be surprisingly dramatic.
Create Mirror Symmetry With Architecture
Architecture is another excellent subject because buildings often contain strong geometric structures.
Look for:
- Windows
- Columns
- Doorways
- Hallways
- Staircases
- Bridges
- Building facades
A centered architectural photograph can produce a highly precise symmetrical design.
For the strongest effect, keep vertical lines straight before creating the mirror. If the original photograph has significant perspective distortion, the mirrored seam may become distracting.
Use Landscape Photos for Surreal Effects
Landscapes can produce much more abstract results.
Imagine a mountain photograph where the peak is slightly off-center.
Take one side, mirror it, and combine the two halves.
The result may transform the original landscape into a completely new composition.
You can experiment with:
- Mountains
- Clouds
- Forests
- Beaches
- Desert landscapes
- Snow-covered scenes
Natural textures work particularly well because the mirrored patterns can look intentional even when they don’t correspond to a real location.
Don’t Always Place the Mirror Exactly in the Center
Perfect center symmetry is only one possibility.
You can move the reflection line slightly to create different compositions.
For example, instead of dividing the image at 50%, you could choose a strong object or architectural feature as the symmetry axis.
This can make the effect feel more connected to the original photograph.
The key is to choose a deliberate visual center rather than simply splitting the image wherever it happens to be convenient.
Add a Seam for a More Polished Effect
A common problem with mirror effects is a visible line where the two sides meet.
Depending on the photograph, this can either look intentional or distracting.
If the seam is noticeable, try:
- Aligning the edges more carefully
- Removing unwanted overlap
- Blending the center
- Using a soft mask
- Cropping slightly
- Choosing a cleaner center point
For abstract artwork, a visible seam can actually become part of the design.
For realistic symmetry, however, a clean transition usually looks better.
Mirror Symmetry vs Reflection
These effects are related but aren’t exactly the same.
| Effect | Main Idea |
| Mirror symmetry | One side is reflected to create matching geometry |
| Full image mirror | The entire image is reversed |
| Water reflection | An image is reflected vertically with additional visual adjustments |
| Repeating mirror | Original and reversed copies are placed beside each other |
| Kaleidoscope effect | Multiple mirrored sections create a radial pattern |
Understanding the difference helps you choose the right technique for the result you want.
Make the Effect More Creative
Once the basic symmetry is working, you can experiment with additional edits.
Change the color
Try converting the image to black and white or applying a dramatic color treatment.
Increase contrast
Higher contrast can make geometric patterns stand out.
Add blur
A slight blur can create a dreamlike or reflective appearance.
Use multiple mirror sections
Instead of duplicating one half, repeat several mirrored sections to create a kaleidoscope-like design.
Combine different photos
You can use one photograph as the original and another as the reflected section for a more experimental collage.
Common Mistakes to Avoid
Using a poor center point
If the symmetry line cuts through an awkward area, the final result may look unnatural.
Ignoring perspective
Strong perspective differences can make a mirrored building or object look distorted.
Leaving a visible gap
Even a tiny gap between the original and reflected portions can break the illusion.
Forgetting text
Text becomes backward when it is mirrored. This matters for signs, logos, packaging, and screenshots.
Overdoing the effect
Mirror symmetry is visually strong. Adding too many additional effects can make the image difficult to read.
Quick Ideas to Try
If you’re experimenting with mirror symmetry for the first time, try these projects:
Portrait: Create two symmetrical faces from the left and right halves of the same photograph.
Architecture: Mirror half of a building to create a perfectly balanced facade.
Landscape: Reflect half of a mountain scene to produce a surreal environment.
Product photo: Create a repeated product arrangement for a promotional graphic.
Road photograph: Mirror the road and surrounding scenery to create a tunnel-like composition.
Nature: Reflect leaves, flowers, or tree branches to produce abstract patterns.
Conclusion
Mirror symmetry is more than simply flipping an image. It is a creative composition technique that lets you duplicate visual structures, create balance, and transform ordinary photographs into unusual designs.
Start with a strong center point, choose one side of the image, duplicate and flip it, and then align the two sections carefully. From there, you can experiment with vertical reflections, repeated mirrors, color adjustments, blur, and more abstract compositions.
