

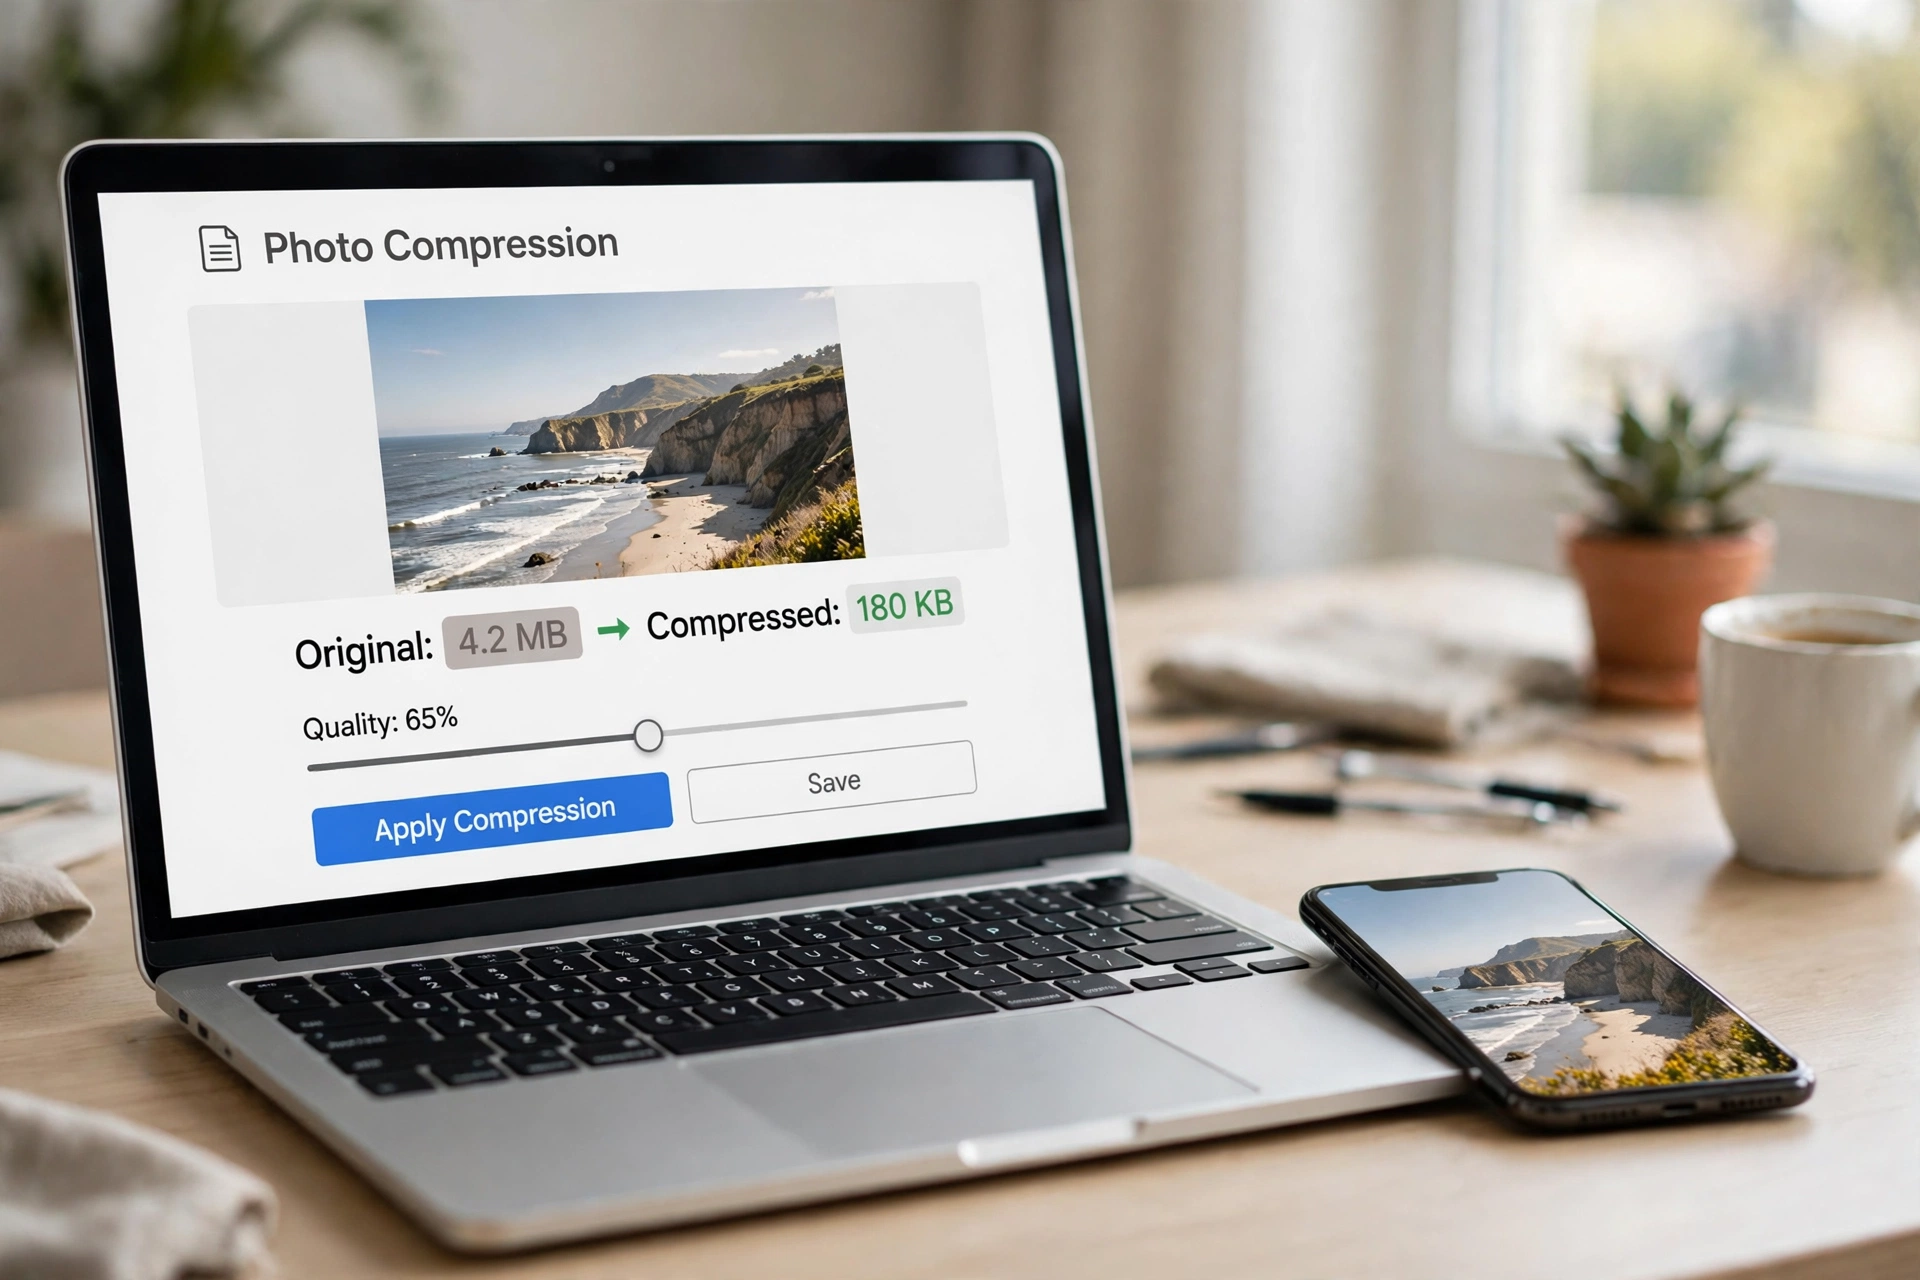
Reduce JPG Size Free: 5 Easy Ways to Hit Any Target KB in Seconds
Need to reduce JPG size before a form upload rejects your photo? Most JPGs can shrink by 40% to 80% without any noticeable loss in quality — you just need the right target and the right settings. Whether a portal wants your photo under 200 KB or a job application caps it at 100 KB, this guide shows you five free ways to reduce JPG size to exactly the KB you need, online, on your phone, or on your computer.
Why Reduce JPG Size to an Exact KB?
Most people compress a photo and hope it lands under the limit. That guessing game wastes time. Portals and forms almost always state an exact limit, so it is faster to aim at that number from the start. Job and exam forms usually ask for 100 KB or 200 KB, government portals 50 KB to 200 KB, and a photo under 200 KB also loads fast on a website.
A phone photo straight from the camera is often 3 MB to 6 MB. Getting it down to 200 KB means removing roughly 95% of the file — and that is completely normal. The trick is knowing which settings keep the picture looking good at that size.
How Much Can You Reduce a JPG?
JPG is a lossy format, which means it throws away some image data every time you save it. That is exactly what makes it so shrinkable. As a rough guide, quality 90–100 gives 20–40% smaller files and suits archiving and printing; quality 75–89 gives 50–70% smaller files and suits websites, social media, and email; quality 60–74 gives 70–85% smaller files and suits thumbnails; and below 60 gives 85% or more, only when a tiny file matters more than looks.
A typical 4 MB phone photo drops to around 400 KB at quality 80, and to roughly 200 KB at quality 70 with its dimensions trimmed. A 12 MB camera photo can fall to about 800 KB at quality 85. The exact result depends on how detailed the photo is — a busy landscape compresses less than a plain sky.
Method 1: Reduce JPG Size Online Free (Fastest Way)
The quickest way to reduce JPG size is a free online tool. Open the Flip Image tool, upload your JPG, pick your target size, and download the smaller file. There is no software to install and no account to create.
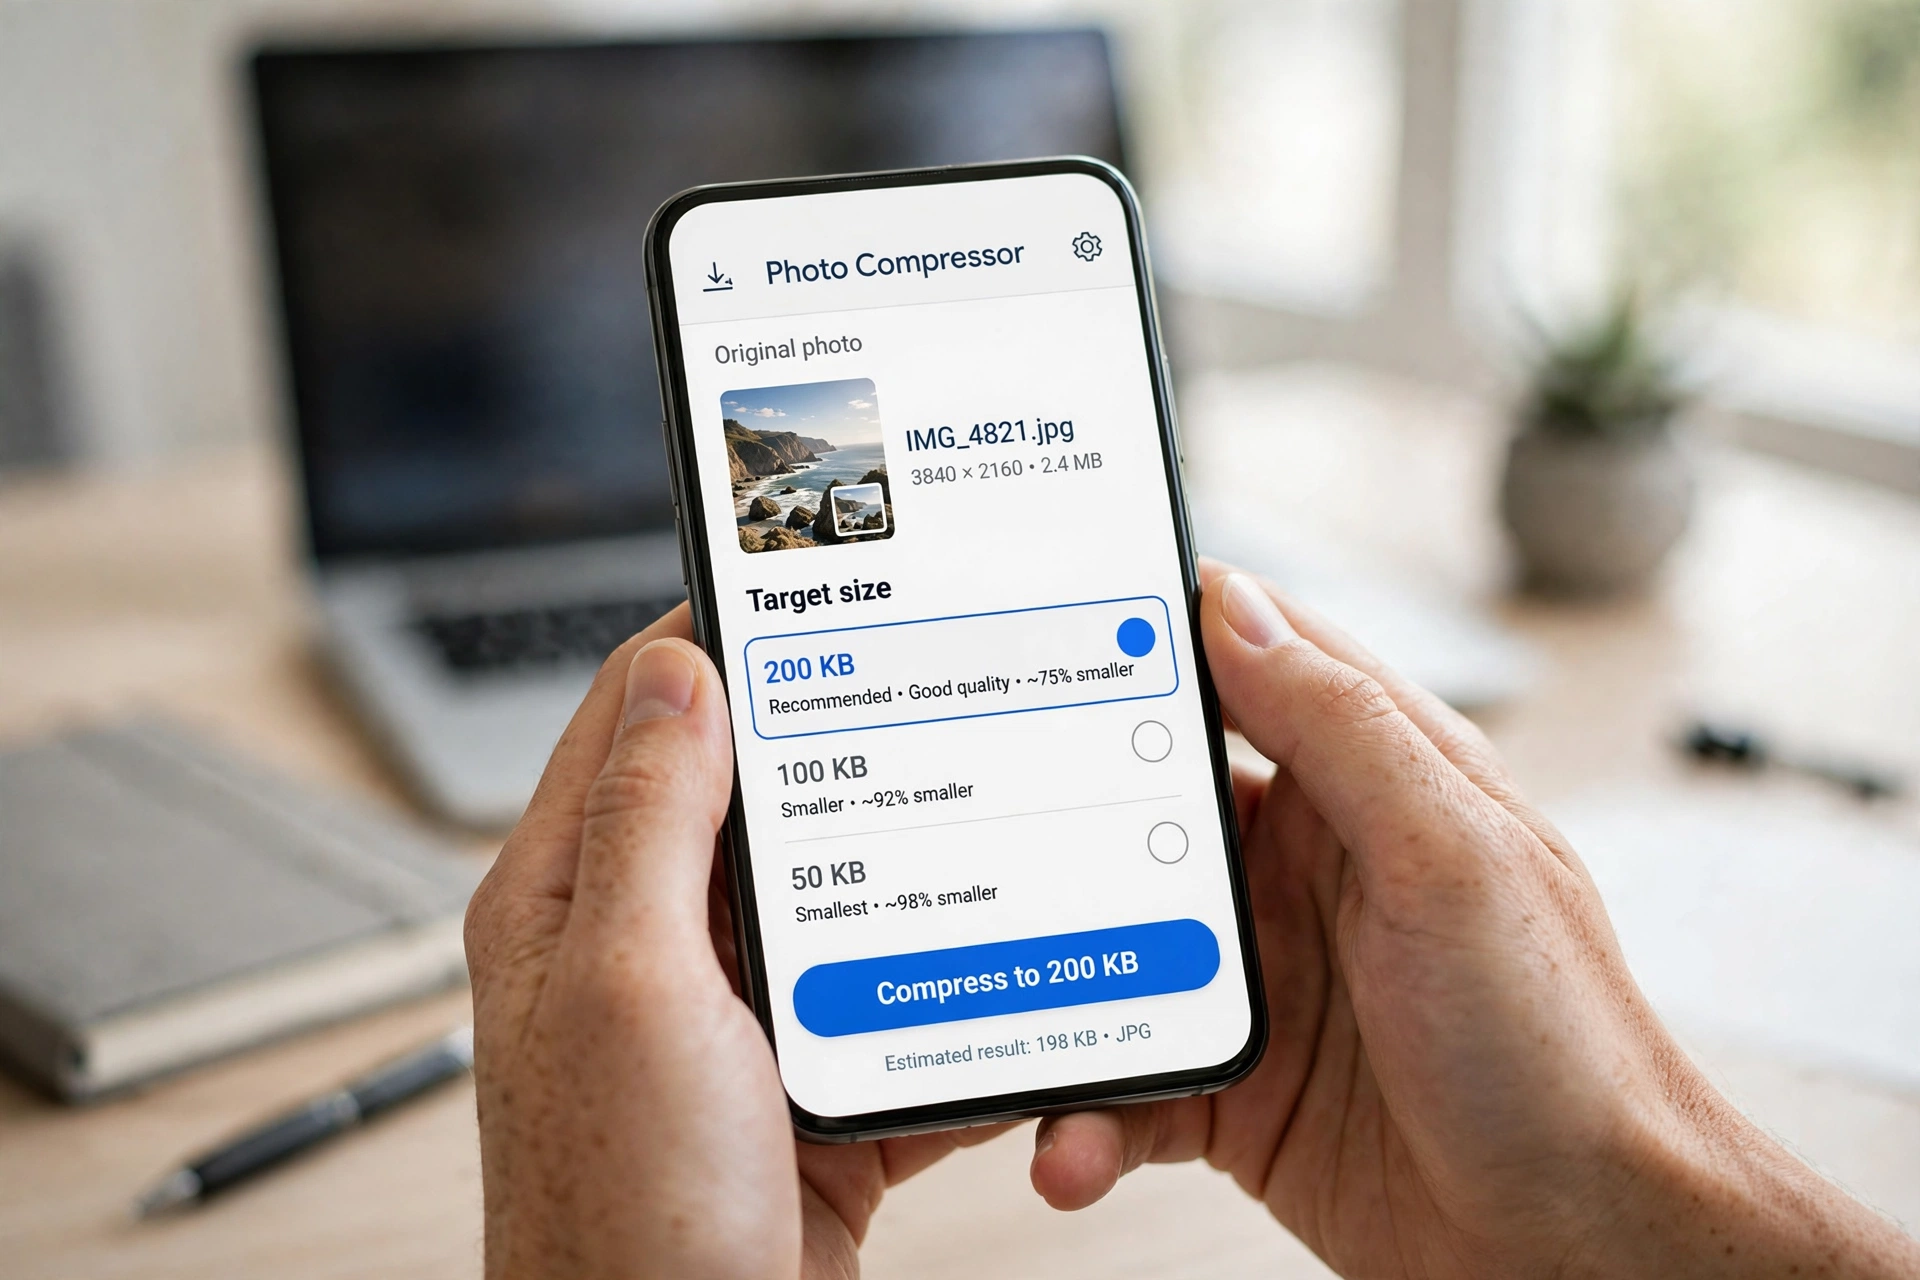
- Go to the free tool and upload your JPG.
- Choose your target size — 200 KB, 100 KB, or 50 KB.
- Let the tool pick the quality and dimensions that hit that target.
- Download the reduced JPG and check it looks right before you upload it anywhere.
This is the best option when a form is waiting and you need the file in under a minute. If you also need to resize a JPG to exact pixel dimensions for a profile picture, the same tool handles that too.
Method 2: Reduce JPG Size to 200 KB
200 KB is the most common target on the web. Job portals, exam forms, and blog uploads all seem to agree on it, and it is the easiest target to hit without visible damage.
- Open your JPG in any free online compressor.
- Set the target to 200 KB, or set quality to around 75–80.
- If the photo is wider than 2,000 pixels, shrink its dimensions to about 1,600 pixels wide first — that alone can cut the file in half.
- Download and check the result at full screen. Text and faces should still look clean.
Most photos reach 200 KB comfortably at quality 75–85. If yours does not, lower the dimensions slightly before lowering the quality further.
Method 3: Reduce JPG Size to 100 KB
100 KB is the stricter limit many application forms use, and it needs a little more care. At this size you are removing about 97% of a 3 MB original, so both levers matter: dimensions and quality.
- First, reduce the dimensions. A photo 1,200 pixels wide is plenty for a form upload.
- Then set quality to around 65–75 and compress.
- Check fine details — small text, hair, and patterns are the first things to look rough.
- If it still sits above 100 KB, crop out empty background before compressing again. Cropping removes data the file does not need to carry.
For a deeper walkthrough of the quality settings behind this, see our guide on how to compress a JPG.
Method 4: Reduce JPG Size to 50 KB or 20 KB
Some portals ask for 50 KB or even 20 KB. That is very small, and you should expect some visible softness. The goal here is a file that is accepted and still recognisable.
- Shrink the dimensions hard — 800 pixels wide is usually enough at this size.
- Set quality to 60–70.
- Strip the metadata (camera settings, location, and thumbnail data hidden inside the file) — this can shave off several KB and protects your privacy too.
- Save the result as a new file. Never overwrite your original, because you cannot get the lost quality back.
If the photo still will not fit, convert it to black and white or crop it tighter. Colour and busy backgrounds are what make JPGs heavy. And if the portal accepts a PDF instead, you can convert your PNG to PDF after preparing the image.
Method 5: Reduce JPG Size on Your Phone or Computer
You do not need a website at all. Every major system has a built-in way to reduce JPG size.
On Windows (Paint): Open the photo in Paint, click Resize, choose Pixels, and lower the width while keeping “Maintain aspect ratio” ticked. Then save a copy as a JPG.
On Mac (Preview): Open the photo in Preview, go to Tools, then Adjust Size. Lower the width, then export as JPEG and drag the quality slider down until the estimated file size shown is under your target.
On iPhone or Android: Use the built-in editor to crop the photo, then share it to yourself by email at a smaller size — most phones offer a “small” or “medium” option when sharing. For exact KB targets, an online tool is still more precise.
3 Rules to Reduce JPG Size Without Losing Quality
- Always work from the original. Every time you re-save an already compressed JPG, it loses more detail. Keep your original safe and make the small version from it.
- Shrink dimensions before crushing quality. A photo wider than 2,000 pixels rarely needs to be that big on screen. Cutting pixels first lets you keep quality higher.
- Strip the metadata. Camera data, location tags, and embedded thumbnails add KB for no visible benefit. Most compressors remove them automatically.
If you want to compare tools before you pick one, CompressJPEG processes files entirely in your browser, and Adobe Express offers a real-time slider with a live size preview.
FAQ
How do I reduce JPG size to 1 MB?
Open the JPG in a free online compressor, set the target to 1 MB, and download it. Most phone photos only need quality 80–85 and a small dimension trim to land under 1 MB.
Why is my JPG file so big?
Three reasons: high resolution (a 12-megapixel phone photo carries far more pixels than a screen shows), a high quality setting when it was saved, and a detailed scene — landscapes with leaves or crowds compress much less than plain backgrounds.
How do I reduce the MB size of a photo?
Lower the pixel dimensions, lower the compression quality, or do both. Cropping out unwanted edges helps too. Saving as WebP instead of JPG can cut the size further — see our guide on how to convert a JPG to PNG and other formats if you need a different file type.
Can I reduce JPG size to exactly 100 KB?
Yes. Use a tool with a target-size option and type in 100 KB, or set quality to 65–75 after shrinking the photo to about 1,200 pixels wide. Always check the downloaded file’s actual size before uploading it to a form.
Try It Free
Reducing a JPG is a two-minute job once you know your target. Pick your number — 200 KB, 100 KB, or 50 KB — and reduce your JPG size free right now. No sign-up, no software, and your original photo stays untouched.
