

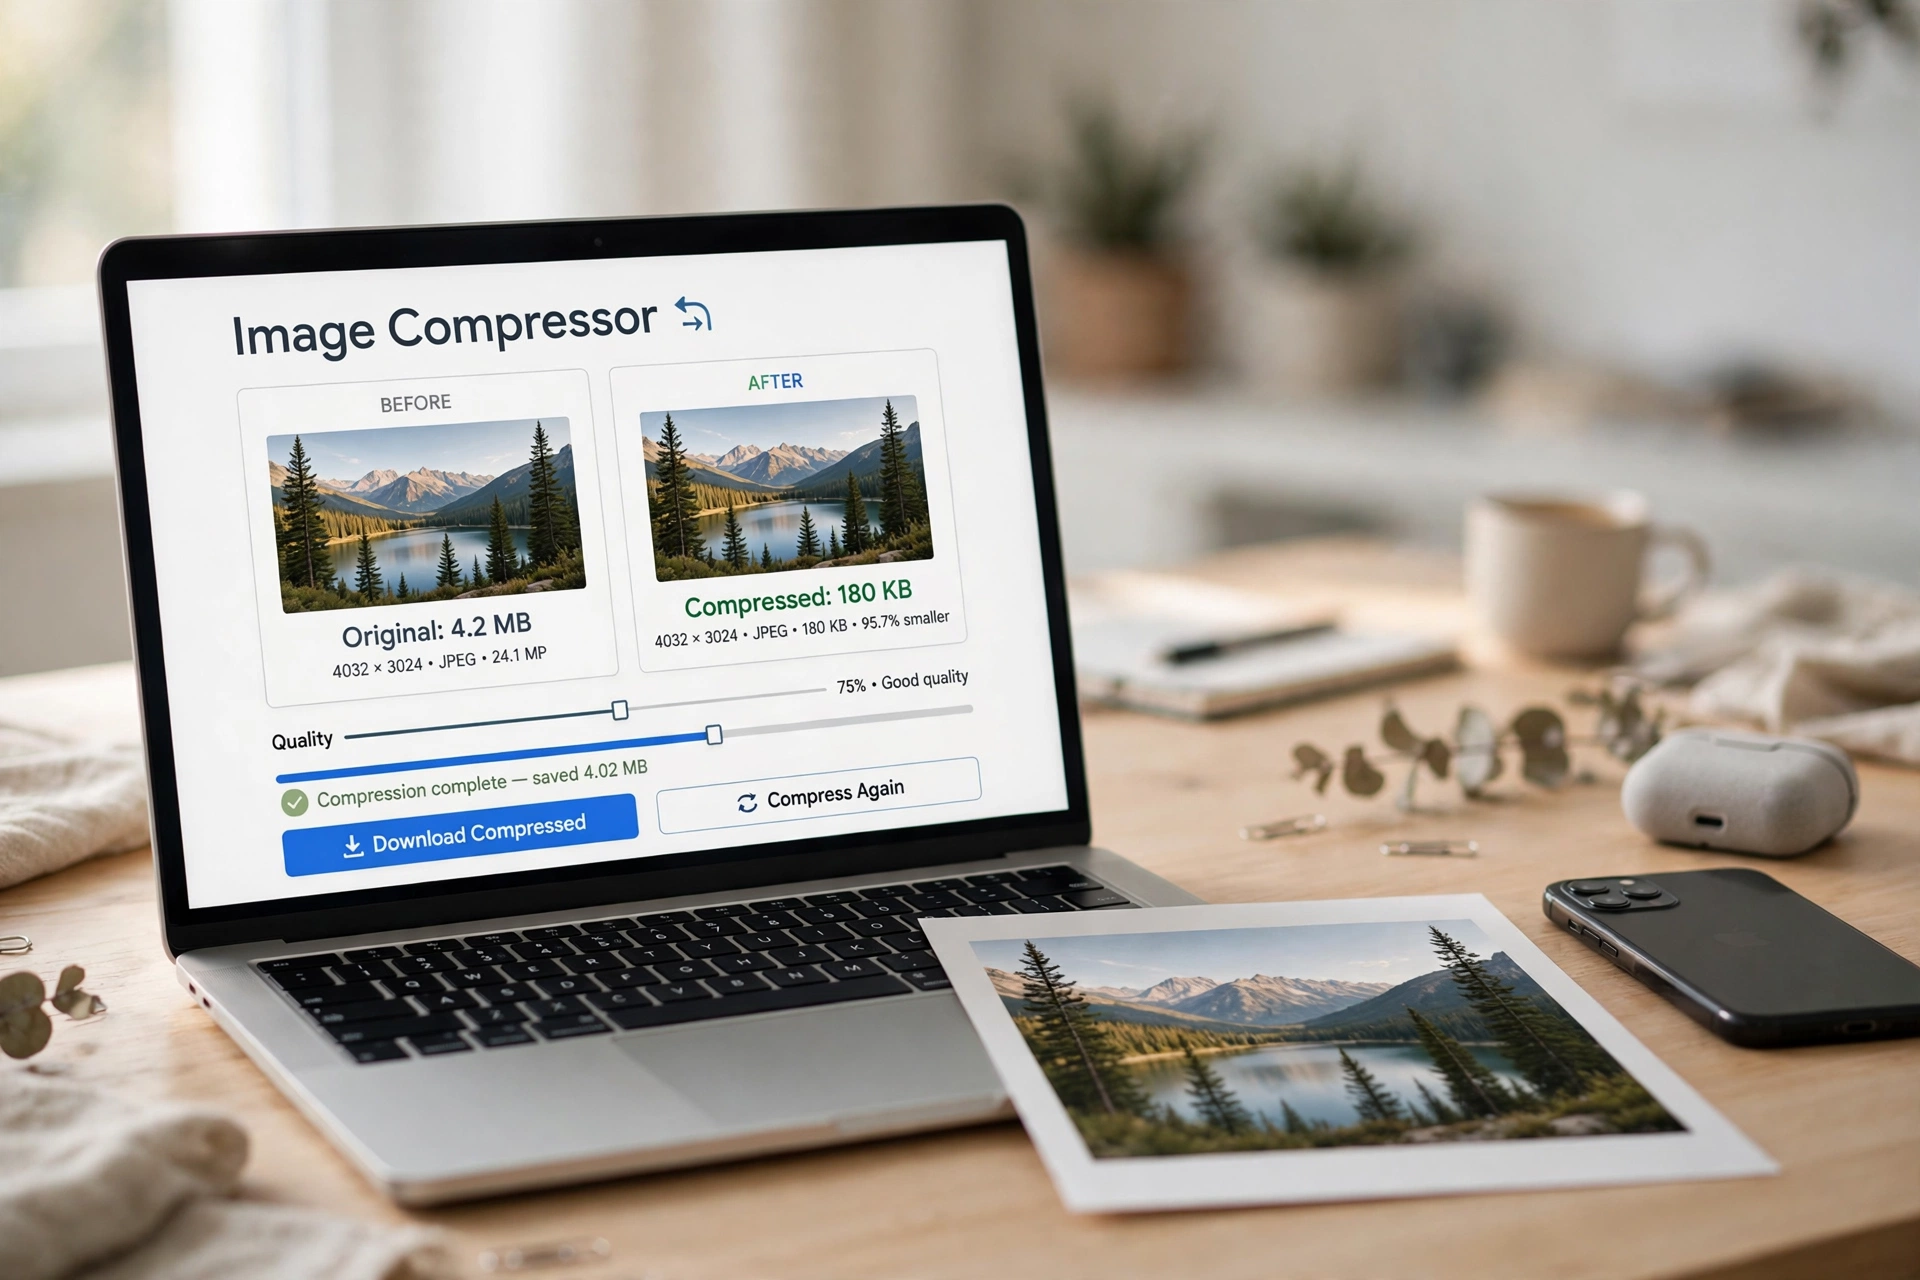
Image Compressor Free: 5 Easy Ways to Shrink Any Photo Fast
An image compressor shrinks a photo’s file size so it loads faster, uploads cleanly and fits email or form limits — without looking worse. A 4 MB phone photo can drop to 200 KB and still look sharp on a screen. This guide shows five free ways to compress any image, explains lossy vs lossless compression, and gives the exact quality settings for a website, email or form.
What Is an Image Compressor?
An image compressor makes a photo file smaller by removing data the eye barely notices. It lowers the quality level — a JPG at quality 80 instead of 100 is often half the size with no visible difference. It shrinks the pixel dimensions, and strips hidden metadata such as camera settings and location. People compress images for slow websites, size-limited forms, oversized email attachments, or a full phone.
Method 1: Compress an Image Online Free (Fastest Way)
The fastest way is a free online tool: upload the photo, pick a quality level, and download the smaller file — no software to install.
- Open the free Flip Image tool in your browser.
- Upload your JPG, PNG or WebP photo.
- Choose your compression level — quality 80 is a safe start.
- Download the compressed image and check the size.
This works on any device, because everything runs in the browser. See our guide on how to compress an image.
Method 2: Compress an Image to an Exact Size (100 KB, 50 KB or 200 KB)
Many forms do not ask for “a smaller image” — they ask for an exact size, usually 100 KB, 50 KB or 200 KB. A compressor with a target-size mode hits it in one step.
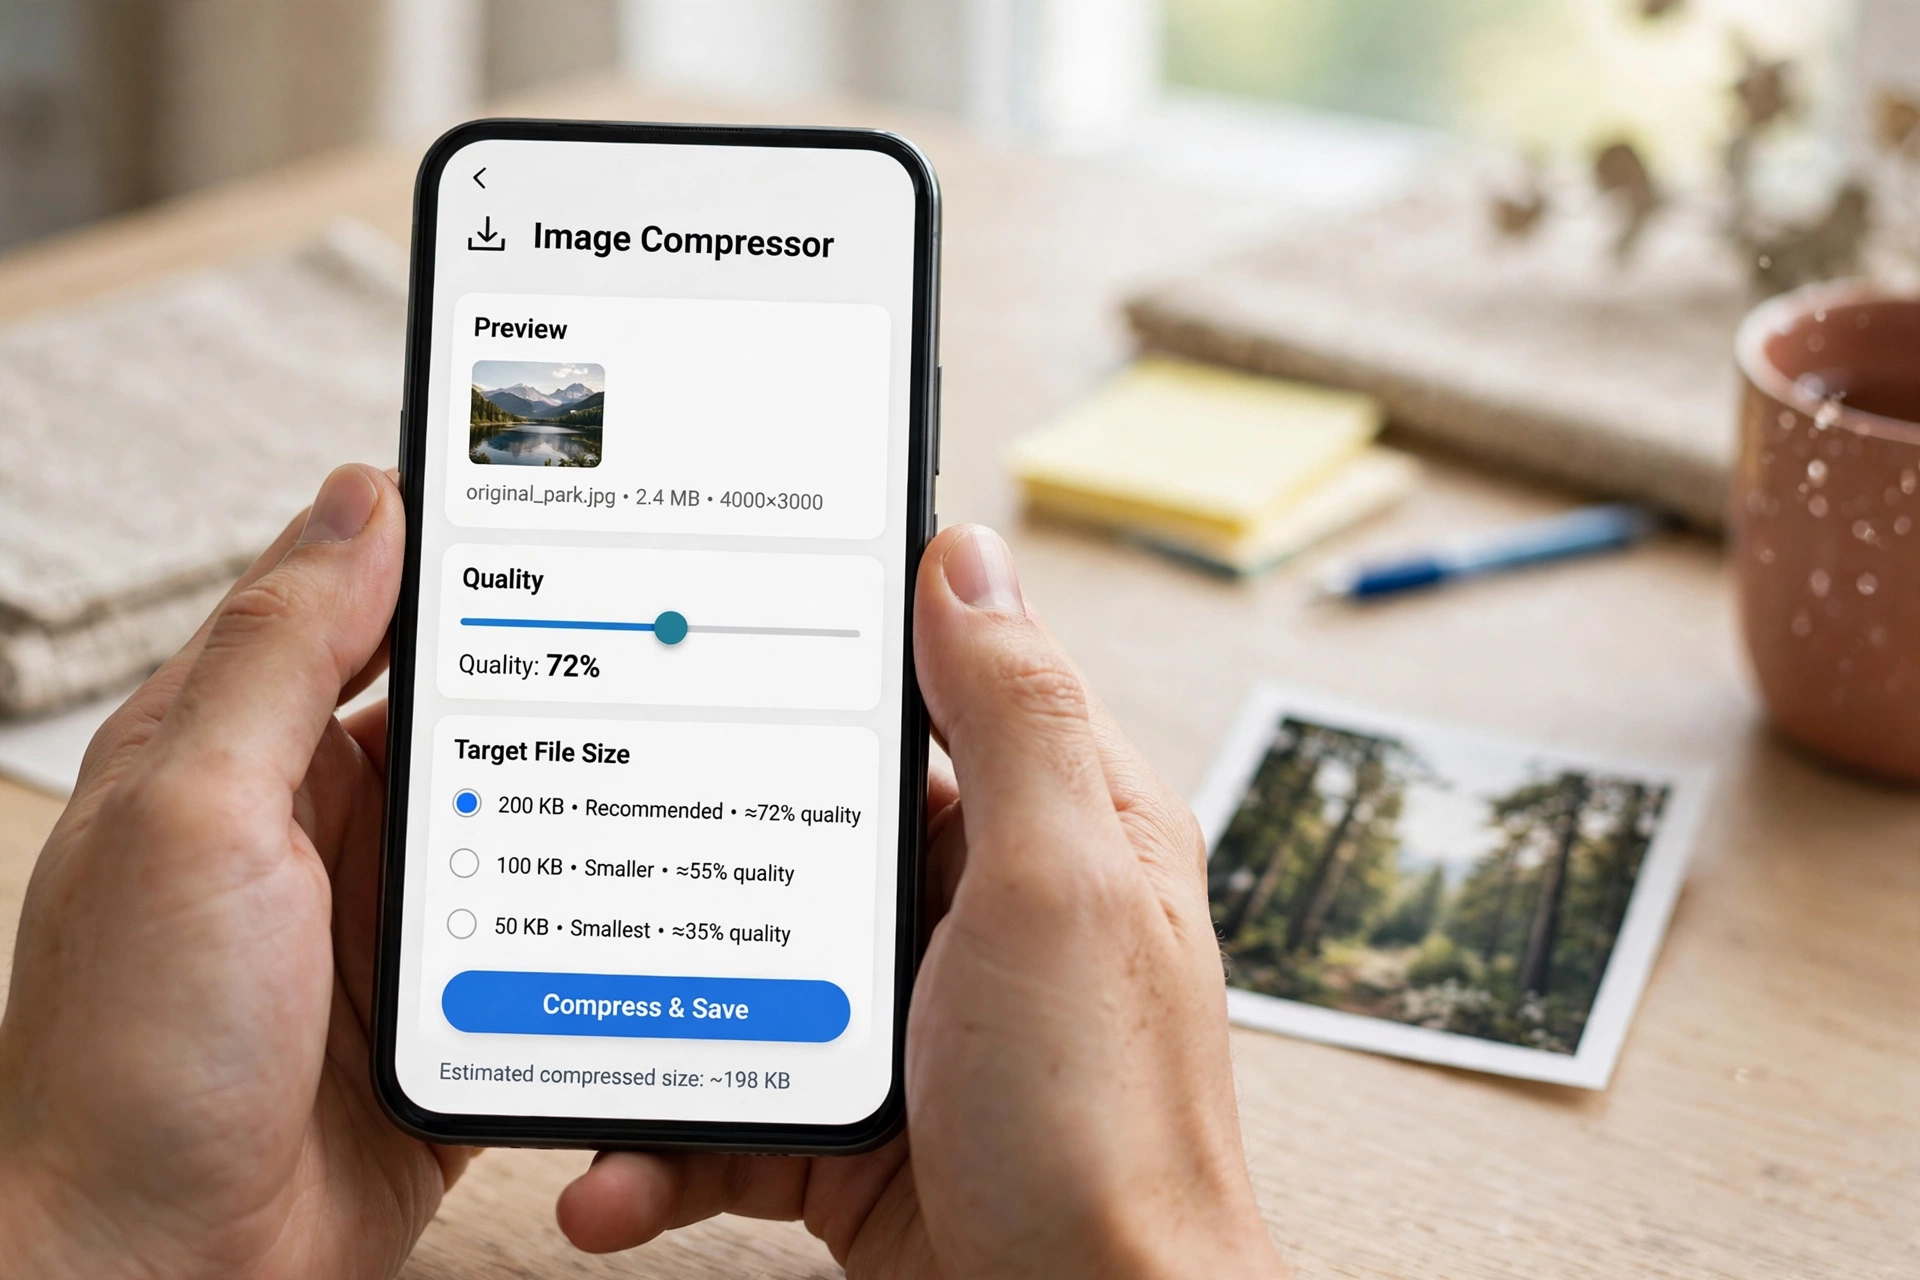
- Open an online image compressor with a target-size option.
- Upload your photo and type your target — for example, 100 KB.
- Let the tool lower the quality and dimensions until it fits.
- Download and check the size — if it looks soft, raise the target slightly.
Target sizes are the most-searched use of an image compressor. Our reduce JPG size guide walks through the same idea step by step.
Method 3: Compress an Image on iPhone
With the Mail app: open Photos, select the image, tap Share, choose Mail, and send it to yourself. Mail asks which size to use — pick Medium or Large and the attached copy arrives compressed; save it back to Photos.
Or use a free online tool in Safari: open the Flip Image tool, upload the photo, choose your quality, and download the smaller file — more control than the Mail trick, because you pick the exact quality level.
Method 4: Compress an Image on Android
On Android, the quickest free route is an online tool in Chrome, but Google Photos and the Files app help too.
- Open Chrome and use a free online image compressor.
- Or open Google Photos, tap Share, and choose Gmail — it offers Small, Medium and Large sizes.
- Or open the Files app to free up space by removing backed-up originals.
For batch work, an Android compressor app with batch mode and a “compress to specified size” setting is best — that exact-size feature is the one most web tools lack.
Method 5: Compress an Image on Windows or Mac (Offline)
On Windows, open the photo in Paint, click Resize, and reduce the percentage or pixel dimensions, then save a copy as JPG. Paint has no quality slider, so pair it with a resolution cut — from 4000 pixels wide to 1600, for example.
On Mac, open the photo in Preview, go to Tools, then Adjust Size, and lower the width. Then choose File, then Export, pick JPEG, and drag the quality slider to 80% — Preview shows the estimated file size as you move it.
Image Compressor Comparison: Which Tool Should You Use?
| Tool | Formats | Batch | Privacy | Price |
|---|---|---|---|---|
| Flip Image (online) | JPG, PNG, WebP | Yes | Online processing | Free |
| imagecompressor.com | JPG, PNG, WebP, GIF, SVG | Yes | Local, no upload | Free |
| Adobe Express | JPG, PNG | No | Uploads to Adobe | Free |
| Squoosh | JPG, PNG, WebP, AVIF | No | Local, works offline | Free |
| Android compressor app | JPG, PNG, WebP | Yes, exact KB | On-device | Free with ads |
Privacy favours a local tool, exact sizes favour a target-size mode, and batch work favours a tool that takes many files at once.
Lossy vs Lossless: Which Compression Should You Pick?
Lossy compression throws away some image data permanently. JPG and WebP use it: a photo can shrink 60–80%, and at quality 75–85 the loss is invisible on a screen. Use lossy for photos you share online, email or post.
Lossless compression keeps every pixel exactly as it was. PNG uses it: files shrink less — usually 10–30% — but nothing is lost. Use lossless for logos, screenshots with text, and images you plan to edit again.
Simple rule: photos go lossy (JPG or WebP), graphics and text go lossless (PNG). If a PNG photo is huge, converting it to JPG or WebP shrinks it far more — see our guide on how to compress a PNG.
Best Quality Settings by Use Case
| Use case | Format | Quality | Width |
|---|---|---|---|
| Website image | WebP or JPG | 75–85 | 1600–2000 px |
| Blog image | JPG | 80 | 1200–1600 px |
| Email attachment | JPG | 70–80 | 1200 px |
| Social media post | JPG | 80–85 | 1080–2048 px |
Never compress below quality 70 for a photo people will look at closely, and never upscale a small image — it only adds blur. Google’s Lighthouse audit uses quality 85 as its benchmark — see Google’s guide to efficiently encoding images.
Which Format Compresses Best? JPG vs PNG vs WebP
For photos, WebP usually wins: typically 25–35% smaller than JPG at the same visual quality. JPG is the safe universal choice — every device accepts it. PNG is the worst for photos, but the best for logos and screenshots with sharp text. For a full comparison, see MDN’s image file type and format guide.
If your photo is a PNG and too large, convert it first — a photographic PNG converted to JPG or WebP often shrinks by two-thirds. Our JPG to WebP guide shows the conversion, and the resize image guide covers shrinking pixel dimensions. Once an image is the right size, you can convert your PNG to PDF for sharing or uploading to a form.
Is an Online Image Compressor Safe?
Local (browser-side) tools process the image inside your own browser using WebAssembly — the file never leaves your device, so nothing is uploaded or stored. These are the safest option for private photos.
Cloud tools upload your photo, compress it, and send it back. Reputable ones delete the file automatically — commonly within 6 to 8 hours — and say so in their privacy policy. Check that promise first, and never upload ID documents or medical images.
FAQ
What is an image compressor?
An image compressor is a tool that reduces a photo’s file size by lowering its quality level, shrinking its pixel dimensions, or stripping hidden metadata. The goal is a much smaller file that still looks the same on screen.
Does compressing an image reduce quality?
Yes, slightly — but only if you push it too far. At quality 75–85 a photo shrinks by 40–80% with no visible difference on a screen. Below 70, expect blocky patches and colour banding — keep quality at 80 for everyday use.
How do I compress an image to 100 KB?
Use a compressor with a target-size mode: upload the photo, type 100 KB as the target, and let the tool lower the quality and dimensions until it fits. Without a target mode, lower quality to 75, cut width to 1600 pixels, and repeat until it is under 100 KB.
Is it safe to use an online image compressor?
Yes, for ordinary photos, if you use a reputable tool. The safest tools process the image locally in your browser so the file never uploads. Cloud tools should state that they delete your file automatically, usually within 6 to 8 hours.
Which format is best for compressing images?
WebP gives the smallest files for photos — typically 25–35% smaller than JPG at the same quality. JPG is the most compatible choice and works everywhere. PNG is best for logos and screenshots with text, but a poor choice for photos.
Related guides
- Compress Image Free: 5 Easy Ways to Shrink Photos
- Compress JPG Free: 5 Easy Ways to Shrink Any JPG in Seconds
- Image Resizer Free: 5 Best Tools to Resize Any Photo
- Resize Image Free: 5 Easy Ways in Seconds
- Compress PNG Free: 5 Easy Ways to Shrink Any Image in Seconds
Try It Free
Open the free Flip Image tool, upload your image, pick a quality level, and download the smaller file — no sign-up, no software, no watermark.
