

Need to shrink image files that are too big to upload, email or post? A single photo from a modern phone can be 4 MB or more, while most forms cap uploads at 200 KB. The good news is that you can shrink image size free in seconds — without installing software and without turning the photo into a blurry mess. Here are five easy ways to make any photo smaller, plus the quality settings that keep your pictures sharp.
What Does “Shrink Image” Mean?
To shrink image files means to make them smaller — fewer kilobytes, same picture. Three levers do it:
Quality: saving a JPG or WebP at a lower quality throws away fine detail your eye barely notices. Dropping from 100% to 80% often halves the file with no visible change.
Dimensions: a 4032 × 3024 phone photo holds about 12.2 million pixels. Cutting it to 1920 × 1440 leaves about 2.8 million — roughly 23% — and the file shrinks with them.
Format: WebP is usually 25–34% smaller than a comparable JPG at the same visual quality, per Google’s WebP documentation. PNG is lossless, so a PNG saved as a PNG barely shrinks unless you reduce its dimensions or convert it.
Shrinking is not cropping: cropping cuts part of the picture away, while shrinking keeps the whole picture and only makes the file smaller.
Method 1: Shrink Image Online Free (Fastest Way)
An online tool is the quickest way to shrink image files: nothing to install, and it works on a computer, a phone or a tablet. The free Flip Image tool runs entirely in your browser, so your photos are never uploaded to a server.
- Open the Flip Image tool.
- Choose your photo from your device.
- Set quality to 80% and, if the photo is wider than you need, a maximum width of 1920 px.
- Download the smaller file and check its new size.
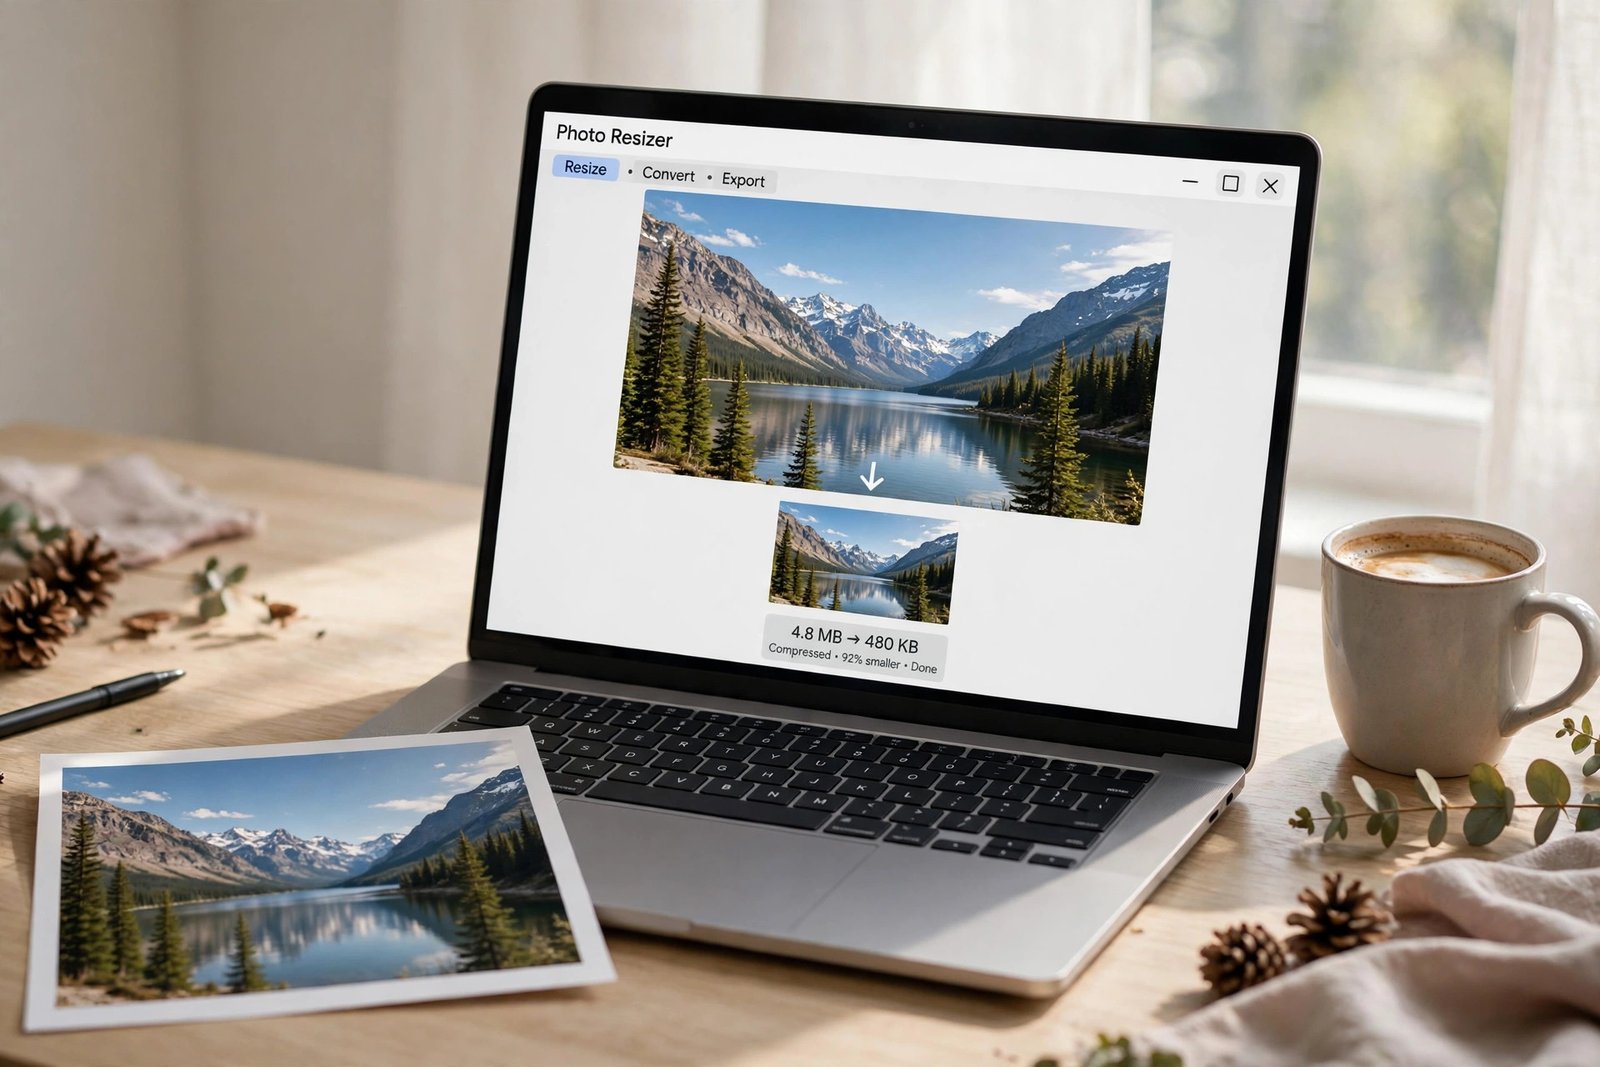
A typical 4.8 MB phone photo drops to around 480 KB at 80% quality and 1920 px wide — about 90% smaller — and still looks sharp. Need it smaller? Switch to WebP or lower the quality to 70%. To compare tools and settings first, see our guide to the best image compressor options.
Method 2: Shrink Image to an Exact Size (200 KB, 100 KB or 50 KB)
Many upload forms reject anything over a fixed limit, so you need a target, not a guess:
| Target size | Where it is needed | How to hit it |
|---|---|---|
| 200 KB | Job portals, exam and ID forms | Quality 80%, width 1920 px, JPG or WebP |
| 100 KB | Email, profile photos, small forms | Quality 70%, width 1280 px |
| 50 KB | Avatars, thumbnails | Quality 60–70%, width 800 px |
| Under 1 MB | Email with several photos | Quality 80%, width 1920 px |
Start with quality: lower it one step at a time. If 50% still is not small enough, reduce the width — halving both sides leaves a quarter of the pixels, which cuts the file far more than any quality slider. If the form needs a PDF rather than an image file, convert your PNG to PDF after shrinking it, so the document stays small and prints cleanly. For JPGs, our reduce JPG size guide covers the same target-size method step by step.
Method 3: Shrink Image on Your Phone
Your phone takes the photos, so it is the natural place to shrink them — no paid app needed.
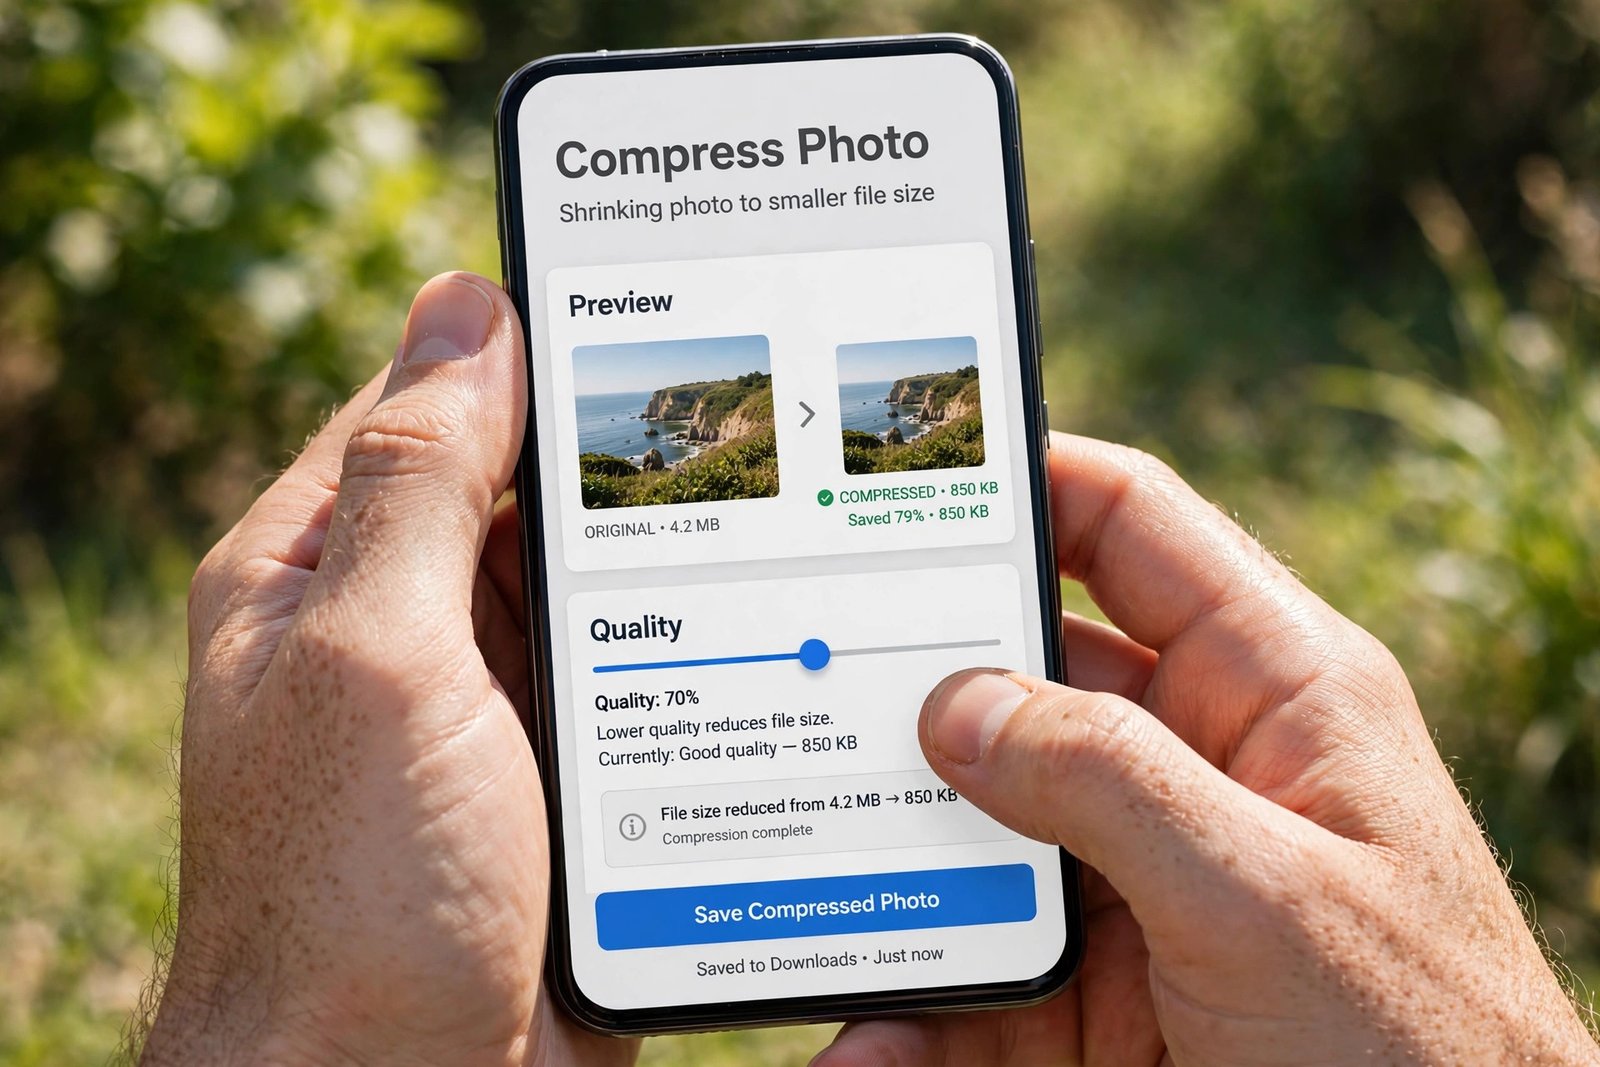
On iPhone or Android, open the Flip Image tool in your mobile browser, pick the photo from your gallery, set quality and width, and save the smaller copy — it works exactly like the desktop version.
Shortcuts help too: iPhone’s Shortcuts app has a “Resize Image” shortcut, and Android’s Google Photos can share at a smaller size — with less control than a dedicated tool.
Keep the original: once you save over a photo at lower quality, the lost detail is gone for good. Always shrink a copy, never the only version you have.
Method 4: Shrink Image on Windows or Mac
If you would rather not use a browser tool, the apps already on your computer can shrink image files too.
Windows Paint: open the photo, choose Resize, pick Percentage, set it to 50%, and save a copy — never overwrite the original.
Mac Preview: open the photo, go to Tools, then Adjust Size, type a smaller width, then use File, then Export and move the quality slider until the size looks right.
Windows Photos and Mac Photos can export a smaller copy too, though their controls are coarser than Paint or Preview.
Desktop apps suit one photo at a time; for a whole folder, the batch method below is faster. If you only need exact pixel dimensions, our resize image guide covers widths and ratios.
Method 5: Shrink Image in Bulk
Shrinking photos one by one gets old fast with a whole folder — a holiday album, a product shoot, a gallery. Batch tools let you drop in dozens of images at once, apply the same quality and width, and download the results as a ZIP file. The free online tools in Method 1 handle batches of up to 20 or 50 images. Two rules keep it safe: shrink copies in a separate folder, and spot-check three or four results before deleting anything — a batch that goes wrong at 50% quality is a batch of ruined photos.
Which Quality Setting Should You Use?
Quality is the biggest lever, so pick it by what the photo is for.
| Quality | Best for |
|---|---|
| 90% | Printing, portfolios, photos you may edit again |
| 80% | Websites, social media, most everyday uses |
| 70% | Email and quick sharing |
| 60% | Thumbnails and previews |
| 50% | The smallest files, where looks matter less |
80% is the sweet spot: at that level most pictures look identical on screen to the original. Go lower only when a size limit forces you to. Screenshots and graphics with text are the exception — they blur fast below 90%, so keep them high or switch to PNG. Our image resizer guide explains how dimensions and quality work together for exact pixel sizes.
Browsers can compress images locally using the canvas API — the technique behind the MDN toBlob method — which is why a good online tool never needs to upload your photos.
3 Mistakes That Ruin a Shrunk Image
- Compressing the same image again and again. Every round of lossy compression throws away more detail — always shrink from the original, never from an already-shrunk copy.
- Deleting the original. A shrunken file can never become the full-quality original again — keep a backup before you shrink anything important.
- Using the wrong format. Saving a logo or screenshot as a JPG blurs text and turns transparent areas white. Use PNG for graphics and text. If a PNG will not shrink, remember it is lossless — only smaller dimensions or a switch to WebP will cut it down. Our compress PNG guide shows how to handle stubborn PNG files.
FAQ: Shrink Image Questions
How do I shrink image files without losing quality?
Start at 80% quality and resize the width first — a 4000 px photo shown at 1200 px wastes most of its bytes. Only drop below 80% if a size limit forces you to.
How do I shrink image size to 200 KB?
Set quality to 80% and width to 1920 px, then check the size. Still over 200 KB? Lower the quality to 70% or the width to 1280 px and check again.
Can I shrink an image on my phone?
Yes — open a free online tool in your mobile browser, pick the photo, set quality and width, and save the smaller copy. No app install needed.
Does shrinking an image change its dimensions?
Only if you choose a smaller width. Lowering quality alone keeps the same dimensions and only makes the file smaller.
Why is my PNG not getting smaller?
PNG is lossless, so saving it as a PNG barely changes the size. Lower its width, or convert to WebP or JPG — WebP usually gives the smallest file at the same quality.
Try It Free — Shrink Your Image Now
Open the free Flip Image tool, drop in your photo, and download a smaller version in seconds — no sign-up, no upload.
