

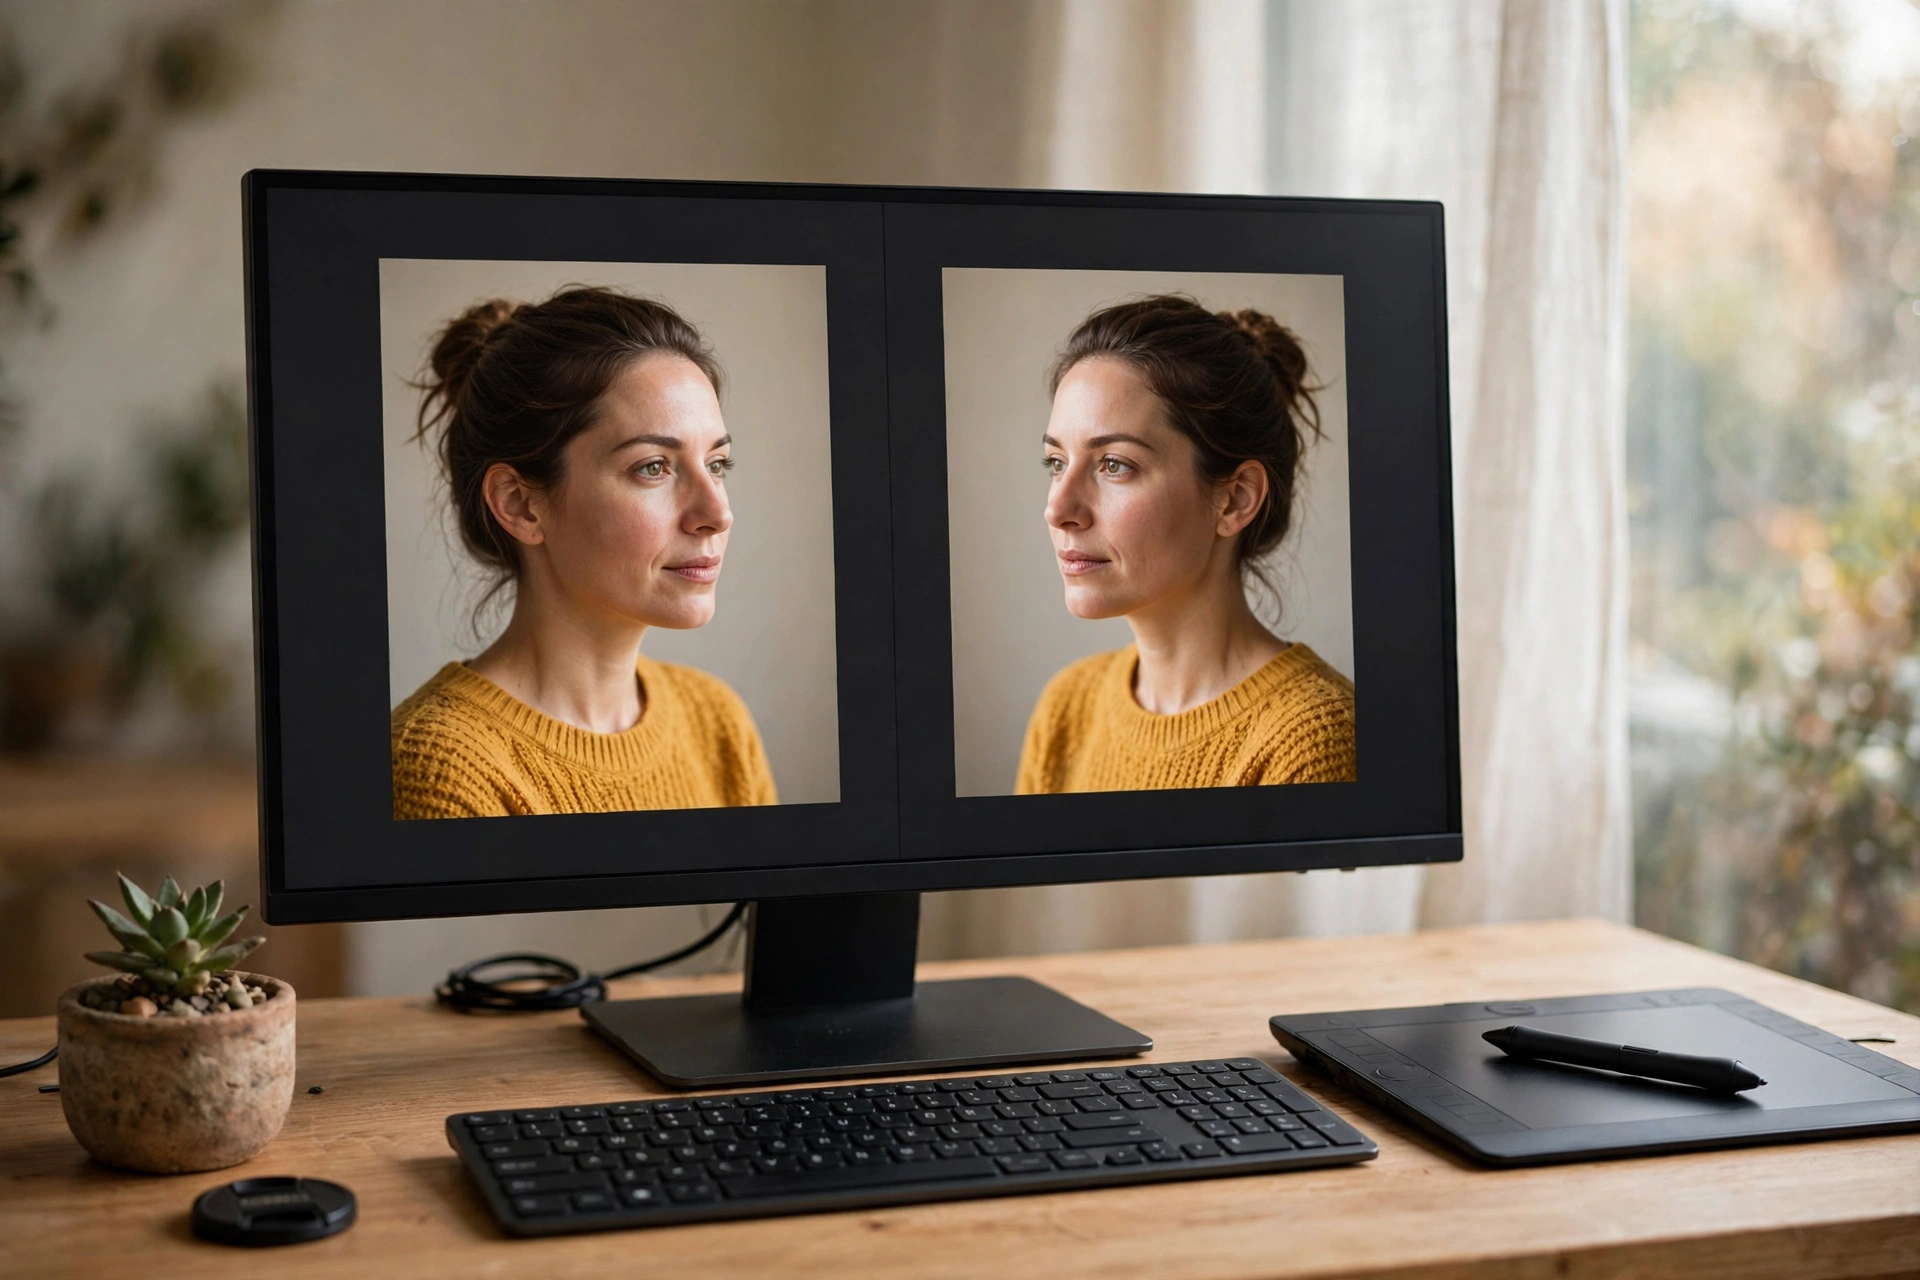
Learning how to flip an image in Affinity Photo takes less than a minute once you know where the flip commands live. Affinity Photo keeps them in two places: the Arrange menu flips the layer you have selected, and the Document menu flips the whole picture at once. This guide shows five free ways to flip a photo in Affinity Photo, on Windows and Mac, plus a free online option for days you do not want to open the app at all.
What Flipping an Image Means in Affinity Photo
Flipping an image means mirroring it, so the left and right sides swap places, or the top and bottom swap. A horizontal flip turns your photo into its mirror image. Flipping is not the same as rotating: rotating turns the picture by 90 or 180 degrees, while flipping mirrors it. To flip image horizontally for a backwards selfie, or fix a product photo facing the wrong way, flipping is the tool you need. The first thing to understand about how to flip an image in Affinity Photo is that the app flips whatever you have selected — a layer, or the whole document — so always check your Layers panel before you click.
Method 1: Flip a Layer with the Arrange Menu (Fastest Way)
This is the quickest way to learn how to flip an image in Affinity Photo, and it is the method you will use most often. Open your photo and pick the Move Tool from the Tools panel on the left — the black arrow near the top, shortcut V. Click your image so the layer becomes active; its name is highlighted in the Layers panel. Now go to the Arrange menu at the top of the screen.
You will see Flip Horizontal and Flip Vertical. Choose Flip Horizontal to mirror the photo left to right, or Flip Vertical to mirror it top to bottom. If you have several layers, only the selected ones flip — perfect when you want to mirror one object without touching the background. The Envato Tuts+ tutorial recommends this approach for everyday flips. Press Ctrl+Z (Cmd+Z on Mac) to undo a wrong flip.
Method 2: Flip the Whole Image with the Document Menu
If your question is how to flip an image in Affinity Photo so that every layer moves together, the Document menu is the answer. Open your photo, then click Document in the top menu bar. In the Photo Persona you will find Flip Horizontally and Flip Vertically, next to Rotate 90° Clockwise and Rotate 90° Anticlockwise.
Pick Flip Horizontally to mirror the whole document left to right, or Flip Vertically to turn it upside down. Every layer moves together, so nothing ends up out of place. This is the best choice for a finished photo that simply faces the wrong way, such as a scanned print that came out mirrored or a screenshot with reversed text. Warning: a horizontal flip makes text read backwards, so check captions first. After flipping, export with File > Export as JPEG or PNG. See how to rotate an image for the rotation steps.
Method 3: Flip One Layer by Dragging It Across
Dragging is another answer to the question of how to flip an image in Affinity Photo, and it suits days when you are already moving a layer around the canvas. Select the layer with the Move Tool, and a blue box appears around it, with a small white circle in the middle of each edge. Those circles are drag handles.
To flip the layer horizontally, grab the middle handle on the left or right edge and drag it across to the opposite side, past the edge where it started. The layer mirrors as you drag, and when you let go it stays flipped. To flip vertically, do the same with the top or bottom middle handle. Hold Shift while you drag to keep the layer’s proportions neat. Duplicate the layer and drag the copy across to build a mirrored pair, such as a reflection. The Lenscraft guide shows this handle-dragging method step by step.
Method 4: Flip Just Part of a Photo
This is how to flip an image in Affinity Photo when only one part of the picture needs mirroring — a face, a sign, or a product — while everything else stays as it is. First put that part on its own layer: select the area with the Selection Brush Tool or the Freehand Selection Tool, then press Ctrl+J on Windows or Cmd+J on Mac to copy the selection onto a new layer.
Now select that new layer and use the Arrange menu, just as in Method 1, to flip it horizontally or vertically. The rest of the photo is untouched because it sits on a different layer. Before you flip, duplicate the layer with Ctrl+J or Cmd+J so you always have an untouched copy to go back to — the simplest way to keep your editing non-destructive. Our guide on how to flip an image in Photoshop uses the same duplicate-then-flip idea.
Method 5: Flip an Image Online Free (No Affinity Needed)
Some days you do not need Affinity Photo at all — you just want a photo flipped in seconds, without opening a heavy app. This online route will not teach you how to flip an image in Affinity Photo itself, but it solves the same problem in seconds.
Open the free Flip Image tool, upload your photo, and click Flip Horizontal or Flip Vertical. The picture mirrors instantly in your browser, and you can download it straight away. No install, no account — ideal for a quick fix on any computer or phone. It cannot replace Affinity Photo for layered work, but for a one-off flip it is faster than launching the app. Our guide to flip an image in GIMP shows the same workflow in another free editor.
5 Tips for a Clean Flip in Affinity Photo
First, duplicate your layer before you flip, so you can always go back — one Ctrl+J or Cmd+J costs nothing and saves rework. Second, zoom in and check the edges — a flipped layer can sit a pixel or two off from where it started. Third, remember that a horizontal flip reverses text, so look for words, logos, and number plates in the frame before you export. Fourth, a stretched layer means you dragged a corner handle — use the middle handles for a pure mirror. Fifth, save an Affinity file as well as your JPEG or PNG, so you can reopen the layers later. See how to flip an image in Krita for the same layer-by-layer flipping.
FAQ: How to Flip an Image in Affinity Photo
How do I flip an image in Affinity Photo without flipping the background?
Select only the layer you want to mirror, then use Arrange > Flip Horizontal or Flip Vertical. Unselected layers are left alone.
Can I flip just one layer in Affinity Photo?
Yes. Pick the layer in the Layers panel, or click it with the Move Tool, then choose Flip Horizontal or Flip Vertical from the Arrange menu.
How do I flip an image in Affinity Photo on iPad?
The iPad version has the same Arrange menu: select the layer, tap Arrange, and choose Flip Horizontal or Flip Vertical. The Document menu holds the whole-image flip, just as on the desktop.
Does flipping an image in Affinity Photo reduce quality?
No. Flipping only rearranges the pixels, so it does not soften or compress your photo. Only a low JPEG export setting reduces quality.
Try a Free Flip Right Now
Now you know how to flip an image in Affinity Photo five different ways, from the one-click Arrange menu to flipping a single layer by dragging it. And when you only need a fast mirror without opening any app, try the free tool at Flip Image — upload, flip, download, done in seconds.
